Making A Wood Bench

Here Are A Couple Of Diy Benches That Would Provide Casual And Attractive Seating Indoors Or Outdoors They Would Diy Garden Furniture Simple Benches Wood Diy

How To Build A Bench Woodworking Bench Plans Built In Bench Wood

Garden Wood Bench Plans Pdf Woodworking Wood Bench Plans Wooden Bench Plans Outdoor Furniture Plans

Garden Seat Buildeazy Diy Wood Bench Wood Bench Plans Garden Bench Diy

How To Build A Bench Seat Howtospecialist How To Build Step By Step Diy Plans Diy Bench Seat Timber Bench Seat Diy Plans

Diy Wood Bench With Back Plans Her Tool Belt Wood Bench Plans Diy Bench Outdoor Wood Bench Outdoor

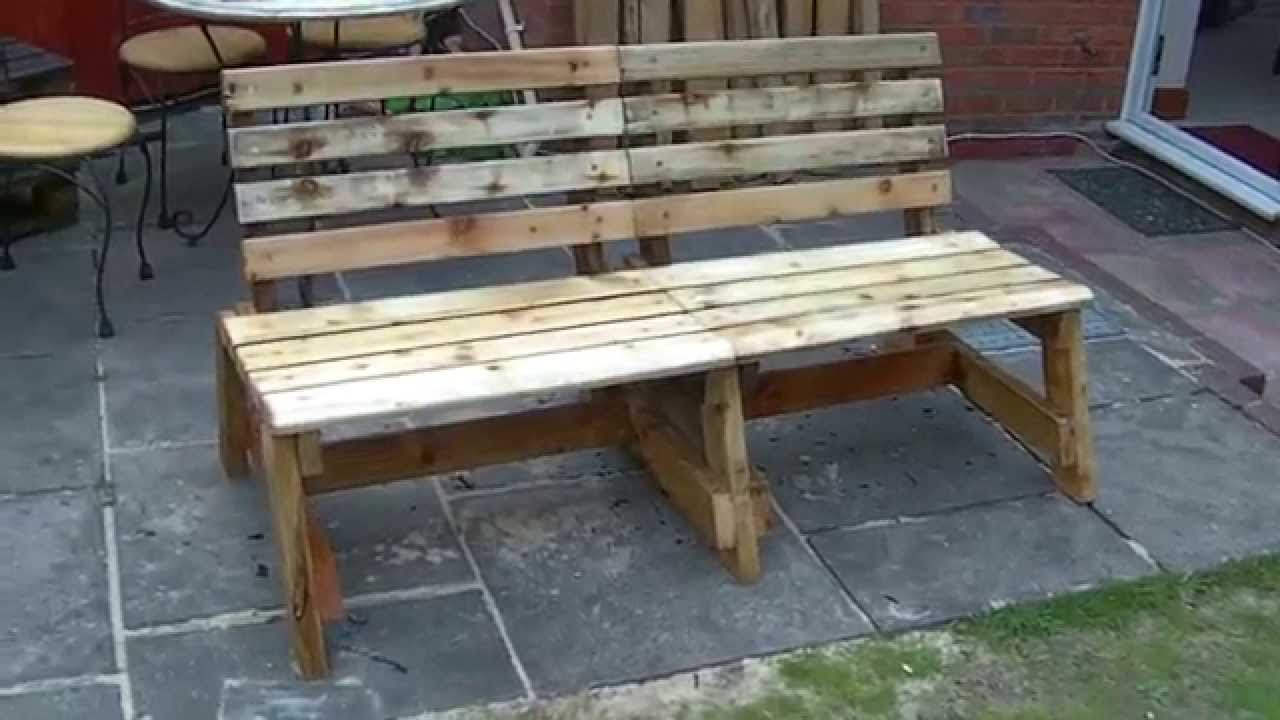
These five parts with simple steps will guide from getting the tools and materials you will need to building the wood bench.
Making a wood bench.

25 Easy Diy Wood Garden Bench Designs For 2018 Mikedecor Info Modern Diy Wood Bench Diy Bench Outdoor Diy Bench Seat

Easy To Make Beginner Level Rustic Bench And It S Only 15 In Wood Would Like Something Like This For The Front Door Ar Rustic Diy Diy Wood Projects Diy Bench

A Benchtable Ranch Ramblins Garden Bench Plans Wooden Garden Benches Wooden Bench

This Bench Was Made From And Urban Poplar Tree All The Edges Are Rounded And It Will Comfortably Seat Three Homemade Bench Wooden Garden Garden Bench

How To Build A Simple Bench Unique Creations By Anita In 2020 Simple Benches Diy Wood Projects Woodworking Projects Diy
Garden Bench Out Of Reclaimed Wood Diy Wooden Bench Outdoor Diy Wood Bench Wood Bench Plans

How To Build A Farmhouse Bench For Under 20 In Supplies Farmhouse Bench Diy Diy Bench Outdoor Easy Home Decor

Making A Modern Outdoor Concrete Wood Bench Diy Creators Outdoor Chairs Diy Outdoor Sofa Diy Concrete Wood Bench

Wood Slat Bench With Back Plans Make Your Won Garden Bench Myrepurposedlife Com Rustic Bench Bench With Back Dining Bench With Back

How To Build A Simple Sitting Bench Wood Diy Woodworking Woodworking Bench

Sturdy 2x4 Bench Buildsomething Com Wood Bench Outdoor Pallet Bench Outdoor Diy Patio Bench

Make A Diy Stone And Wood Bench Quickly And Easily Garden Bench Diy Outdoor Stone Outdoor Patio Diy

Creating Massive Log Bench Rustic Outdoor Benches Wood Bench Outdoor Log Bench

Diy Pallet Bench Pallet Bench Outdoor Rustic Bench Seat Wooden Pallet Furniture

Concrete Concrete Blocks And Wood Provide The Ideal Combination Of Materials For Building Inexpensive Wood Bench Outdoor Garden Bench Diy Diy Bench Outdoor

Simple Bench Made From 2x4 S My Repurposed Life Rescue Re Imagine Repeat Simple Benches Reclaimed Wood Projects Scrap Wood Projects

Live Edge Barn Wood Bench With Back Rest 15 Long Udu2ny00ndu3ljq3odk1na Jpg 567 377 Wood Dining Bench Wood Bench With Back Diy Wood Bench

2x4 Bench With Back Plans Howtospecialist How To Build Step By Step Diy Plans Wooden Bench Plans Wood Bench Plans 2x4 Bench
1

Project How To Make A Park Bench With A Reclined Seat Out Of 8 2x4 39 S Youtube Small Garden Bench Garden Bench Outdoor Garden Furniture

How To Build A Double Chair Bench With Table Free Plans Diy Outdoor Furniture Outdoor Furniture Plans Furniture Projects

How To Build A Semi Circular Wooden Bench Diy Bench Outdoor Garden Bench Diy Build Outdoor Bench

Simple Diy Entry Way Bench Diy Furniture Bedroom Easy Diy Home Diy

My First Try At Concrete A Modern Concrete And Wood Bench Diy Concrete Garden Bench Garden Bench Concrete Garden
Source : pinterest.com
